
As a Senior SEO Content Strategist and SaaS Copywriter, I’ve spent the last couple of years diving into various AI tools for image and video generation. Tools like picture to video AI have changed how I approach content creation. This guide focuses on helping beginners navigate these tools without feeling lost. We’ll cover why they can seem overwhelming, simple steps to get started, common pitfalls, and the real benefits for everyday users. If you’re a content creator, small business owner, or freelancer, this is for you.
Why Beginners Often Find AI Tools Overwhelming
Many newcomers to AI tools like Image to Video AI feel intimidated right from the start. The sheer number of options and technical terms can make it hard to know where to begin. Beginners often expect instant results but end up frustrated when things don’t go as planned. This overwhelm stems from a lack of clear guidance on basic workflows. Without understanding the fundamentals, it’s easy to waste time experimenting blindly.
In my experience, the biggest hurdle is assuming these tools require coding or design skills. I’ve seen friends in small businesses abandon AI projects because they couldn’t figure out the interface quickly. The key is recognizing that most Image to Video AI platforms are built for non-experts. They use natural language prompts to simplify the process. Still, without a structured approach, potential users miss out on the efficiency these tools offer.
Overload from too many features can also paralyze beginners. Image to Video AI might include animations, transitions, and effects that sound advanced. People often try to use everything at once, leading to subpar results. This trial-and-error method drains motivation fast. The good news is that starting small can turn this around.
Step-by-Step Guidance on Getting Started with Image to Video AI
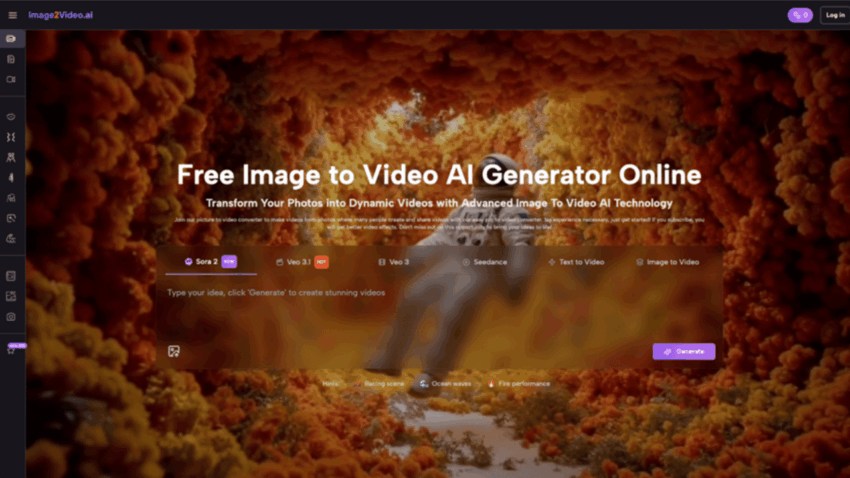
Getting into Image to Video AI doesn’t have to be complicated. The process is straightforward if you follow a few basic steps. First, select a platform that supports simple uploads and prompts. For instance, many free online tools let you transform photos into videos without downloads. This accessibility is perfect for those with minimal technical knowledge.
Start by choosing your image. Upload a photo in formats like JPEG or PNG. These are common and easy to handle. Once uploaded, describe what you want in plain language. The Image to Video AI uses this prompt to add animations and transitions. It’s like giving instructions to a helpful assistant.
Next, let the tool process your request. You’ll see a status like “processing,” which usually takes just a few minutes. During this time, the AI works on turning your static image into a dynamic video. Finally, review the output. If it’s ready, download the MP4 file and share it. This simple workflow makes Image to Video AI approachable for beginners.
I remember my first time using a photo to video converter. I uploaded a basic product shot and typed a short description. The result was a quick animated clip that I could post on social media. It wasn’t perfect, but it built my confidence. Stick to these steps, and you’ll avoid the initial confusion many face.
Key Mistakes and Common Misconceptions When Adopting Image to Video AI
One big mistake beginners make is overcomplicating prompts. They write long, detailed descriptions expecting flawless results. But Image to Video AI works best with clear, concise instructions. This misconception leads to videos that don’t match expectations. Keep prompts simple to start, and refine them over time.
Another error is ignoring file formats. Not all images work seamlessly, so sticking to supported ones like JPEG or PNG prevents upload issues. Beginners often upload incompatible files and assume the tool is broken. Check the platform’s guidelines first. This small step saves a lot of frustration.
Many assume Image to Video AI requires high-end hardware. In reality, these tools are web-based and run on any browser, even on smartphones. The myth that you need technical skills persists, but the interface is intuitive. No advanced knowledge is needed—just upload and describe.
A common pitfall is not reviewing the output before sharing. Rushed users skip this, ending up with videos that need tweaks. Always check for completion status. To overcome these, here’s a quick checklist:
- Verify file format before uploading.
- Use short, natural language prompts.
- Test on a small scale first.
- Review and edit if possible.
From my hands-on trials, I once messed up by using a vague prompt, resulting in odd animations. Learning to be specific fixed that quickly. These tips help maximize Image to Video AI from the outset
Actionable Tips to Overcome Challenges in Image to Video Adoption
To avoid early frustrations, focus on one feature at a time. Start with basic image to video conversions before adding music or effects. This builds familiarity without overwhelm. Practice with personal photos to experiment freely. Over time, you’ll see how Image to Video AI can streamline your workflow.
Address misconceptions by seeking out user-friendly platforms. Look for those with mobile optimization, so you can create on the go. Remember, processing times are short—often under five minutes. Don’t expect hour-long renders like traditional editing. This mindset shift helps beginners stay patient.
If results aren’t ideal, tweak your prompt slightly and retry. Image to Video AI learns from your inputs in a way. For photo to video tasks, ensure images are high-quality for better outputs. Blurry photos lead to subpar videos.
Here’s a simple table of tips:
| Challenge | Tip |
| Overwhelming interface | Start with the upload step only |
| Poor video quality | Use clear, high-res images |
| Long processing | Work on short clips first |
| Sharing issues | Export in MP4 for compatibility |
These strategies make adopting Image to Video AI smoother.
The Benefits of Adopting Image to Video AI for Cost-Effective, Rapid Content Creation
Image to Video AI shines in saving time and money. Traditional video production can be expensive, requiring software and skills. With these tools, you create engaging content quickly and for free or low cost. This is ideal for small businesses needing marketing videos without a big budget. The rapid turnaround means more content in less time.
Efficiency is a major plus. Transform static photos into dynamic videos in minutes. This boosts productivity for freelancers juggling multiple projects. No need for professional editors—Image to Video AI handles animations automatically. It’s like having a team at your fingertips.
For cost-effectiveness, consider the elimination of equipment needs. No cameras or studios required. Just upload a photo and let the AI do the work. This democratizes video creation, making it accessible to everyone. Engagement increases too, as animated content performs better on social platforms.
In real scenarios, I’ve used photo to video tools to turn product images into quick ads. The results drove more views without extra spending. Overall, Image to Video AI empowers users to produce high-quality content affordably.
Real-World Applications of Image to Video AI
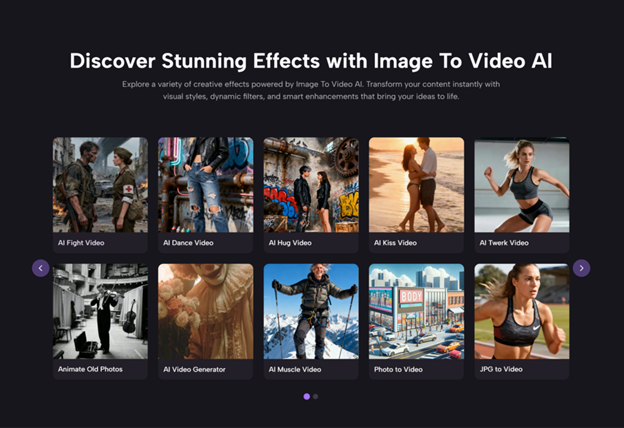
Marketers can turn product photos into video ads using Image to Video AI. This creates dynamic presentations that grab attention. For content creators, it’s great for animating travel photos into vlogs. The tool brings static galleries to life effortlessly.
Educators benefit by converting diagrams into animated lessons. Image to Video AI makes complex ideas more engaging. Social media managers keep feeds fresh with quick photo to video conversions. Optimized for platforms like Instagram, it maintains posting consistency.
Personal uses include making family montages. Preserve memories with heartwarming videos. E-commerce sellers elevate product showcases with 360° views from images. This boosts sales through better engagement.
FAQs and Final Thoughts on Image to Video AI
What can I use photo to video online for? Image to Video AI is versatile for marketing, social content, and personal projects. It automates the process like a pro editor.
Is it free and secure? Many platforms offer free plans with strong security. No downloads needed, and data is encrypted.
Tips for using Image to Video AI? Use JPEG or PNG inputs for MP4 outputs. It’s mobile-friendly and requires no tech skills.
In wrapping up, Image to Video AI simplifies video creation for beginners. By following these steps and tips, you’ll avoid common pitfalls and reap the benefits. Give it a try—it’s easier than you think.